This video focuses on Use Case 4. It showcases the usage of the NEPHELE infrastructure to build a dematerialized medical ultrasound platform usable in remote support scenarios.
The application graph describes the application components involved in the implementation of the solution and the connections among them. Communication is based on the MQTT protocol on the VO southbound interface towards the IoT part, and the HTTPS protocol on the VO northbound interface towards other application components running on NEPHELE.
The deployment of application components on a Kubernetes cluster is performed through the NEPHELE dashboard, where it is possible to visualize all services that will be involved in the solution. The NEPHELE dashboard provides a dedicated page to show a schematic application graph to check if the connection descriptions among components are correctly done through the descriptor file. All services and their links can be defined and prepared for the deployment.
Clicking the Start button, all services are deployed on a preconfigured Kubernetes cluster. For Use Case 4, the deployment is performed on the CNIT cluster. Going to the Operation page, it is possible to visualize the status of the deployed packages on the CNIT Kubernetes cluster.
Through the common prompt and an SSH connection, it is possible to access the Kubernetes cluster on the CNIT infrastructure. Once the connection is established, using the kubectl command, it's possible to list all running Kubernetes pods.
On the IoT side, there are the ultrasound device and the ultrasound probe components. In addition, there is the phantom to simulate the human body during an ultrasound exam.
For the demo, we run the ultrasound software on the equipment. Once the software is fully loaded, the Start Exam page appears.
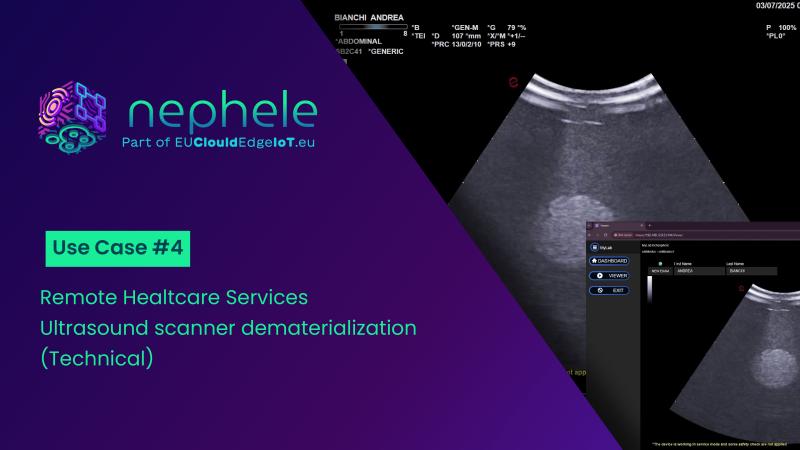
The online availability of the equipment for remote control is managed by a dedicated Settings page. If any device is registered, the device portal is empty. Clicking the Register button, the device portal shows a new entry with a red circle in the status column. After the device registration, it is possible to connect the equipment towards the ultrasound remote platform; the circle becomes green.
Once the device is available for remote control, it is possible to set the name and other parameters of the patient and click Start to perform a new ultrasound exam.
From the Echosphere web application, it's possible to select the device available online and show and pilot the real-time exam. The ultrasound exam can now be shared and controlled simultaneously from both the ultrasound device and the Echosphere web interface.
Using the panel on the right side menu of the Echosphere web interface, parameters such as depth and gain can be adjusted. These changes are sent to the ultrasound device, processed, and reflected on the Echosphere web interface.
By clicking on the second icon in the right side menu, a new panel appears with commands such as Freeze and Flip. Let's click on the Flip Vertical button and verify how the image changes accordingly. To turn back to the previous configuration, just click the Flip Vertical button again.
The Echosphere web interface allows users to open a new exam. Let's set the name of a new patient and click on the New Exam button. The ultrasound device will receive the command and reset the exam settings, starting a new one.
Now we can control the exam from the ultrasound device. For example, we can focus on the target and increase the gain. It is visible how changes are shared and reflected on the remote web interface.
When the workflow is completed, the exam can be terminated by clicking the End Exam button on the ultrasound device. Now the Echosphere viewer can be closed.
This demo showed how NEPHELE infrastructure allowed to build a dematerialized ultrasound medical solution for showing and controlling an ultrasound exam remotely.